| If there is a green “Start a New Meal Plan” button at the top of the calendar, click on the button.
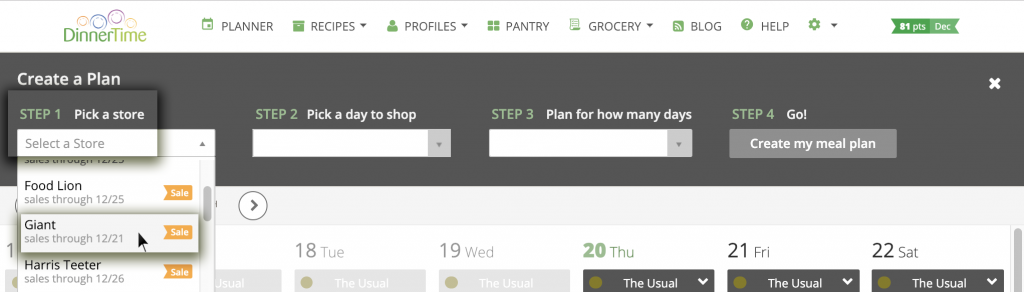
Follow the Steps 1-4 regarding when and where you would like to shop. First, choose your favorite store from the dropdown menu in Step 1.
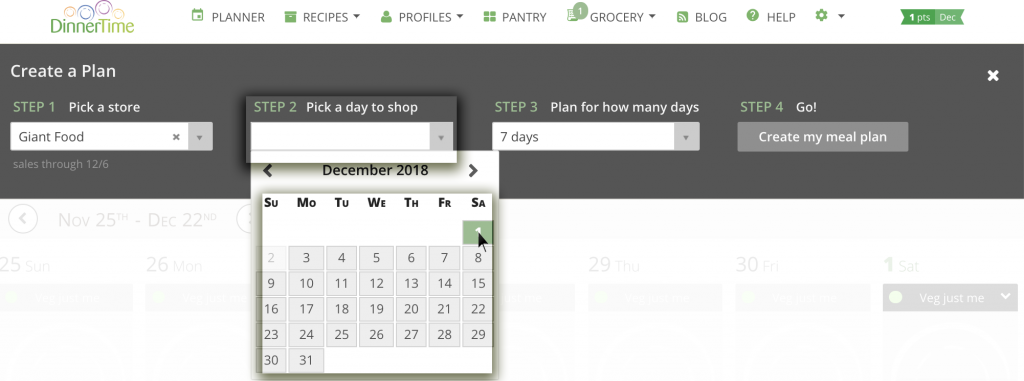
Next, pick a day to shop in Step 2.
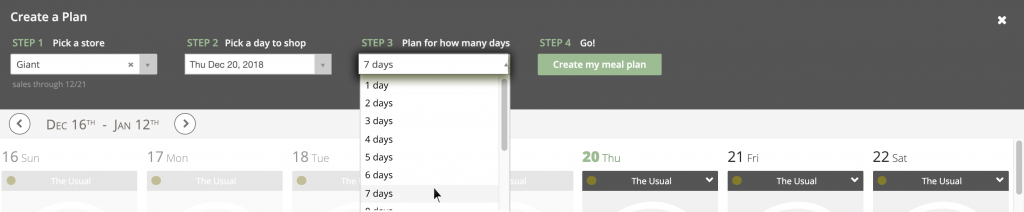
Then decide how many meals you want to shop for on this trip in Step 3.
Finally, press “Create my meal plan” in Step 4.
You can then edit those suggestions in a variety of ways. For further instructions on editing see below. (Note: If there is a green button at the top of the calendar prompting you to go to the Grocery List of a previous meal plan, you will need to dismiss that banner by clicking the x, to reveal the “Start a New Meal Plan” button.) |
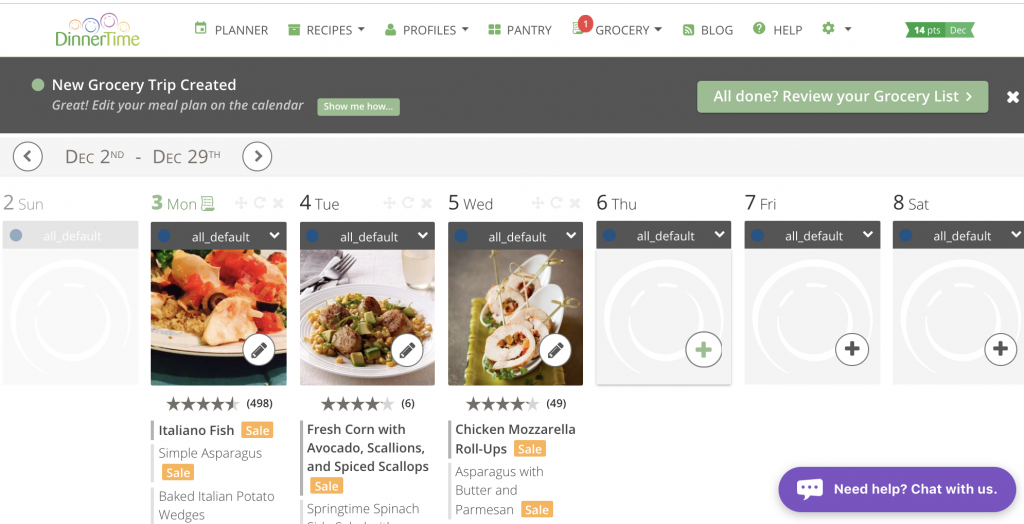
There are three shortcut icons available for every day that has a meal suggestion:
![]() Move
Move
![]() Re-spin
Re-spin
![]() Delete
Delete
To see these icons, move your cursor to a specific day, and you will see them appear above the photo.
The Re-spin icon will give you an entirely new suggestion, assuming one is available that meets your profile. You can re-spin as many times as you would like.

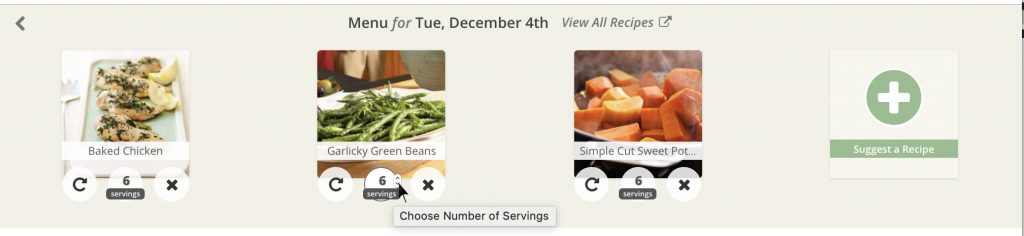
You can also re-spin or delete any individual dishes in the meal by clicking on the photo which will open you the Meal Builder page. On the Meal Builder page, you can also change the number of servings for each dish, see total nutrient information for the combined meal, and search for other recipes to add to the meal.
If the recipe is on your PLANNER calendar, click on the photo associated with the meal to take you the Meal Builder page.
Then, hover over the serving count that you would like to change. There are little up/down arrows which will generally change the number of servings, though some recipes have a limited ability to change the number of servings.
To add one or more days to an existing meal plan, click on the + on the day(s) you would like to add.
You’ll then be asked to choose if you’d like to add the dinner to your current trip or create a new trip.

Hover over GROCERY in the navigation bar at the top of the screen. Click Remove Trip. Then, create a new meal plan.
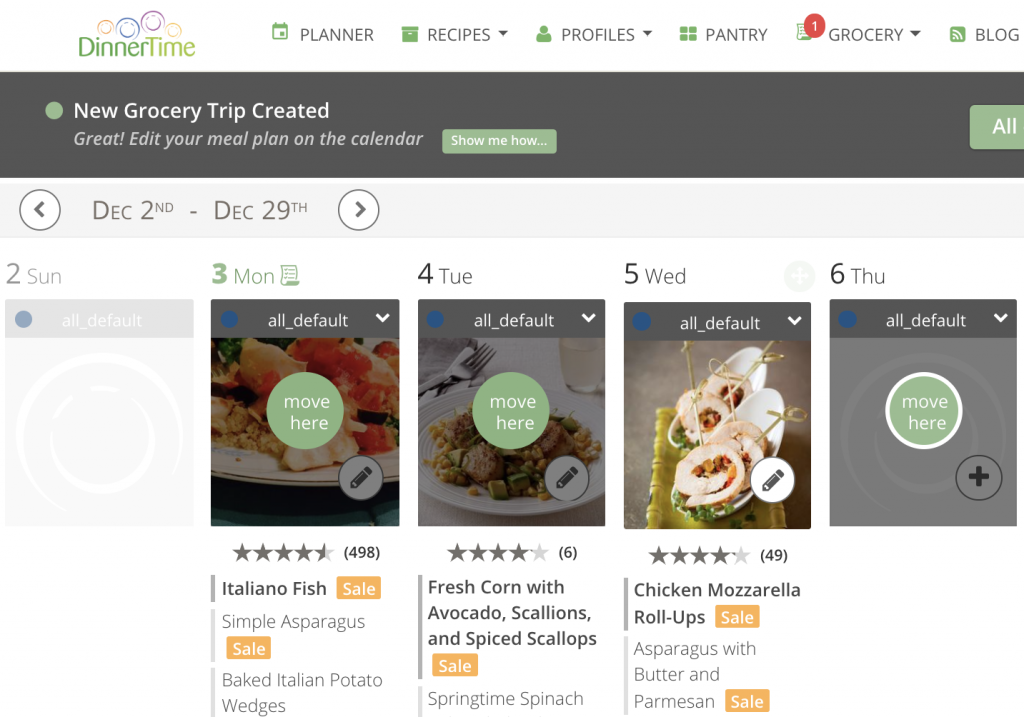
Hover over the photo associated with the meal that you would like to move.
At the top of the photo you will then see three icons, including a Move icon.
![]()
Click on the move icon, and you will see plus signs on all the other days.
![]()
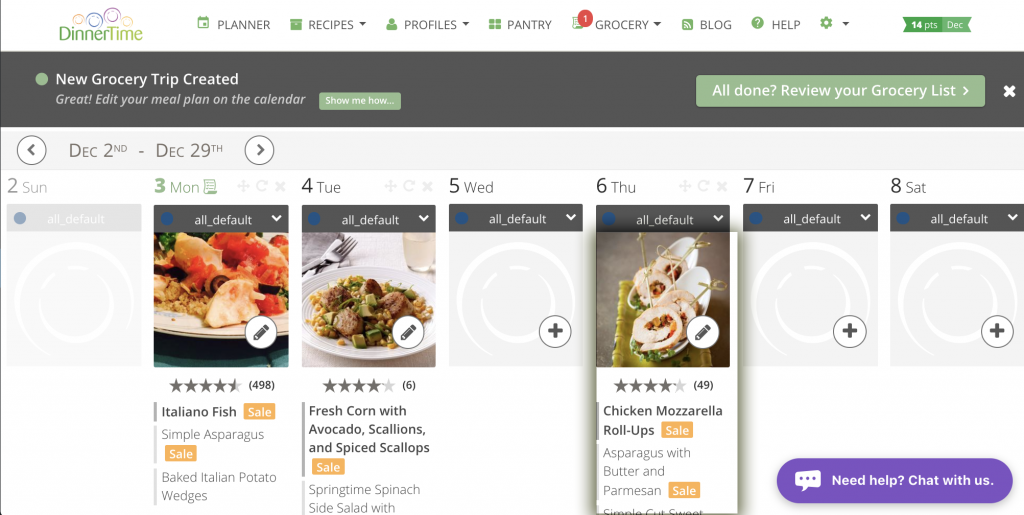
Click on the day to which you want to move the meal.
 After you’ve clicked on a new day you will see that the meal has moved to that day.
As you create a new plan, click on the name of the store, shopping day, or the number of days planned. Then, select your preference.
You can currently only plan a trip with a single store, but you can shop multiple stores in one week by creating two (shorter) meal plans.